
Creating Your Own E-Mail service with Haraka, PostgreSQL and AWS S3
I’m sure anyone who will be reading this post online would’ve used E-Mail. It’s a pretty convenient method of communicating and there are a lot of free email service providers out there.
And if you are a developer like myself, you have a lot of paid email services out there that offers various integration options and features. However most of the time they aren’t a 100% customizable to one’s requirements. Even setting up your own email server doens’t really allow you to customize every aspect of the email pipeline.
But if you are a developer like me, we can use Haraka. It’s an SMTP server written in Node.js that has a plugin based architecture. What that means is, we can pretty much do whatever we want with Haraka by writing plugins. All you need is a little bit of javascript knowledge. If you already don’t have it, just acquire it. Javascript is a pretty easy language to learn, and you don’t need a lot of advanced skills to write a Haraka plugins.
In this post, we will be exploring how we can setup Haraka to receive and send emails. How to write a plugin to validate recipients and accept or reject the email. How to write a plugin to place incoming emails in an Amazon AWS bucket.
It’s going to be a long post!
Installing Haraka
You will first need to have npm and Node.js installed in your system. The installation instructions are pretty clear and straightforward.
Once node and npm setup is completed all you have to do is install Haraka by typing in
npm install -g Haraka
The -g flag is for installing Haraka globally. You might have to provide root privileges on a unix based system.
Once Haraka is installed, you need to create a configuration for it. Without a configuration you can’t do anything.
haraka -i /path/to/haraka_test
This will create a directory named haraka_test that has all the configurations necessary to run a Haraka server
instance.
The haraka_test contains the following directories and files.
- config
- A directory containing various configuration files.
- docs
- A directory containing documentation.
- plugins
- A directory containing the custom plugins.
- package.json
- A file containing additional node dependencies that the plugins need to run.
One important file to note right now is the config/smtp.ini file. You can change server listening details like the
port, ip etc. from that file. The default port for Haraka is 25, which requires root/admin privileges depending on the
system you are using.
Now that’s just an overview of whats created when you create the initial configuration. We will go into more details as we proceed down this post.
So let’s start her up.
sudo Haraka -c /path/to/haraka_test/
You will see some log output on the console, and then the server should start up. While there’s nothing much you can do right now the way this server is setup, it’s the first step!
Receiving Emails
After the server is installed successfully, it’s time to to set it up to pick up incoming emails. So here’s the thing to do this properly, you will need your own domain.
MX Record
Now everyone knows, or I hope they do, what a DNS record is, basically that’s what tells everyone which domain is pointed at which server.
There’s something called a MX record as well. That’s shorthand for Mail Exchange. Now this record tells anyone who
wants to check which Mail Exchange Server(s) are associated with a domain.
I got thihara.com from GoDaddy, and you can set your MX record from their DNS management screen. It basically looks
like this.
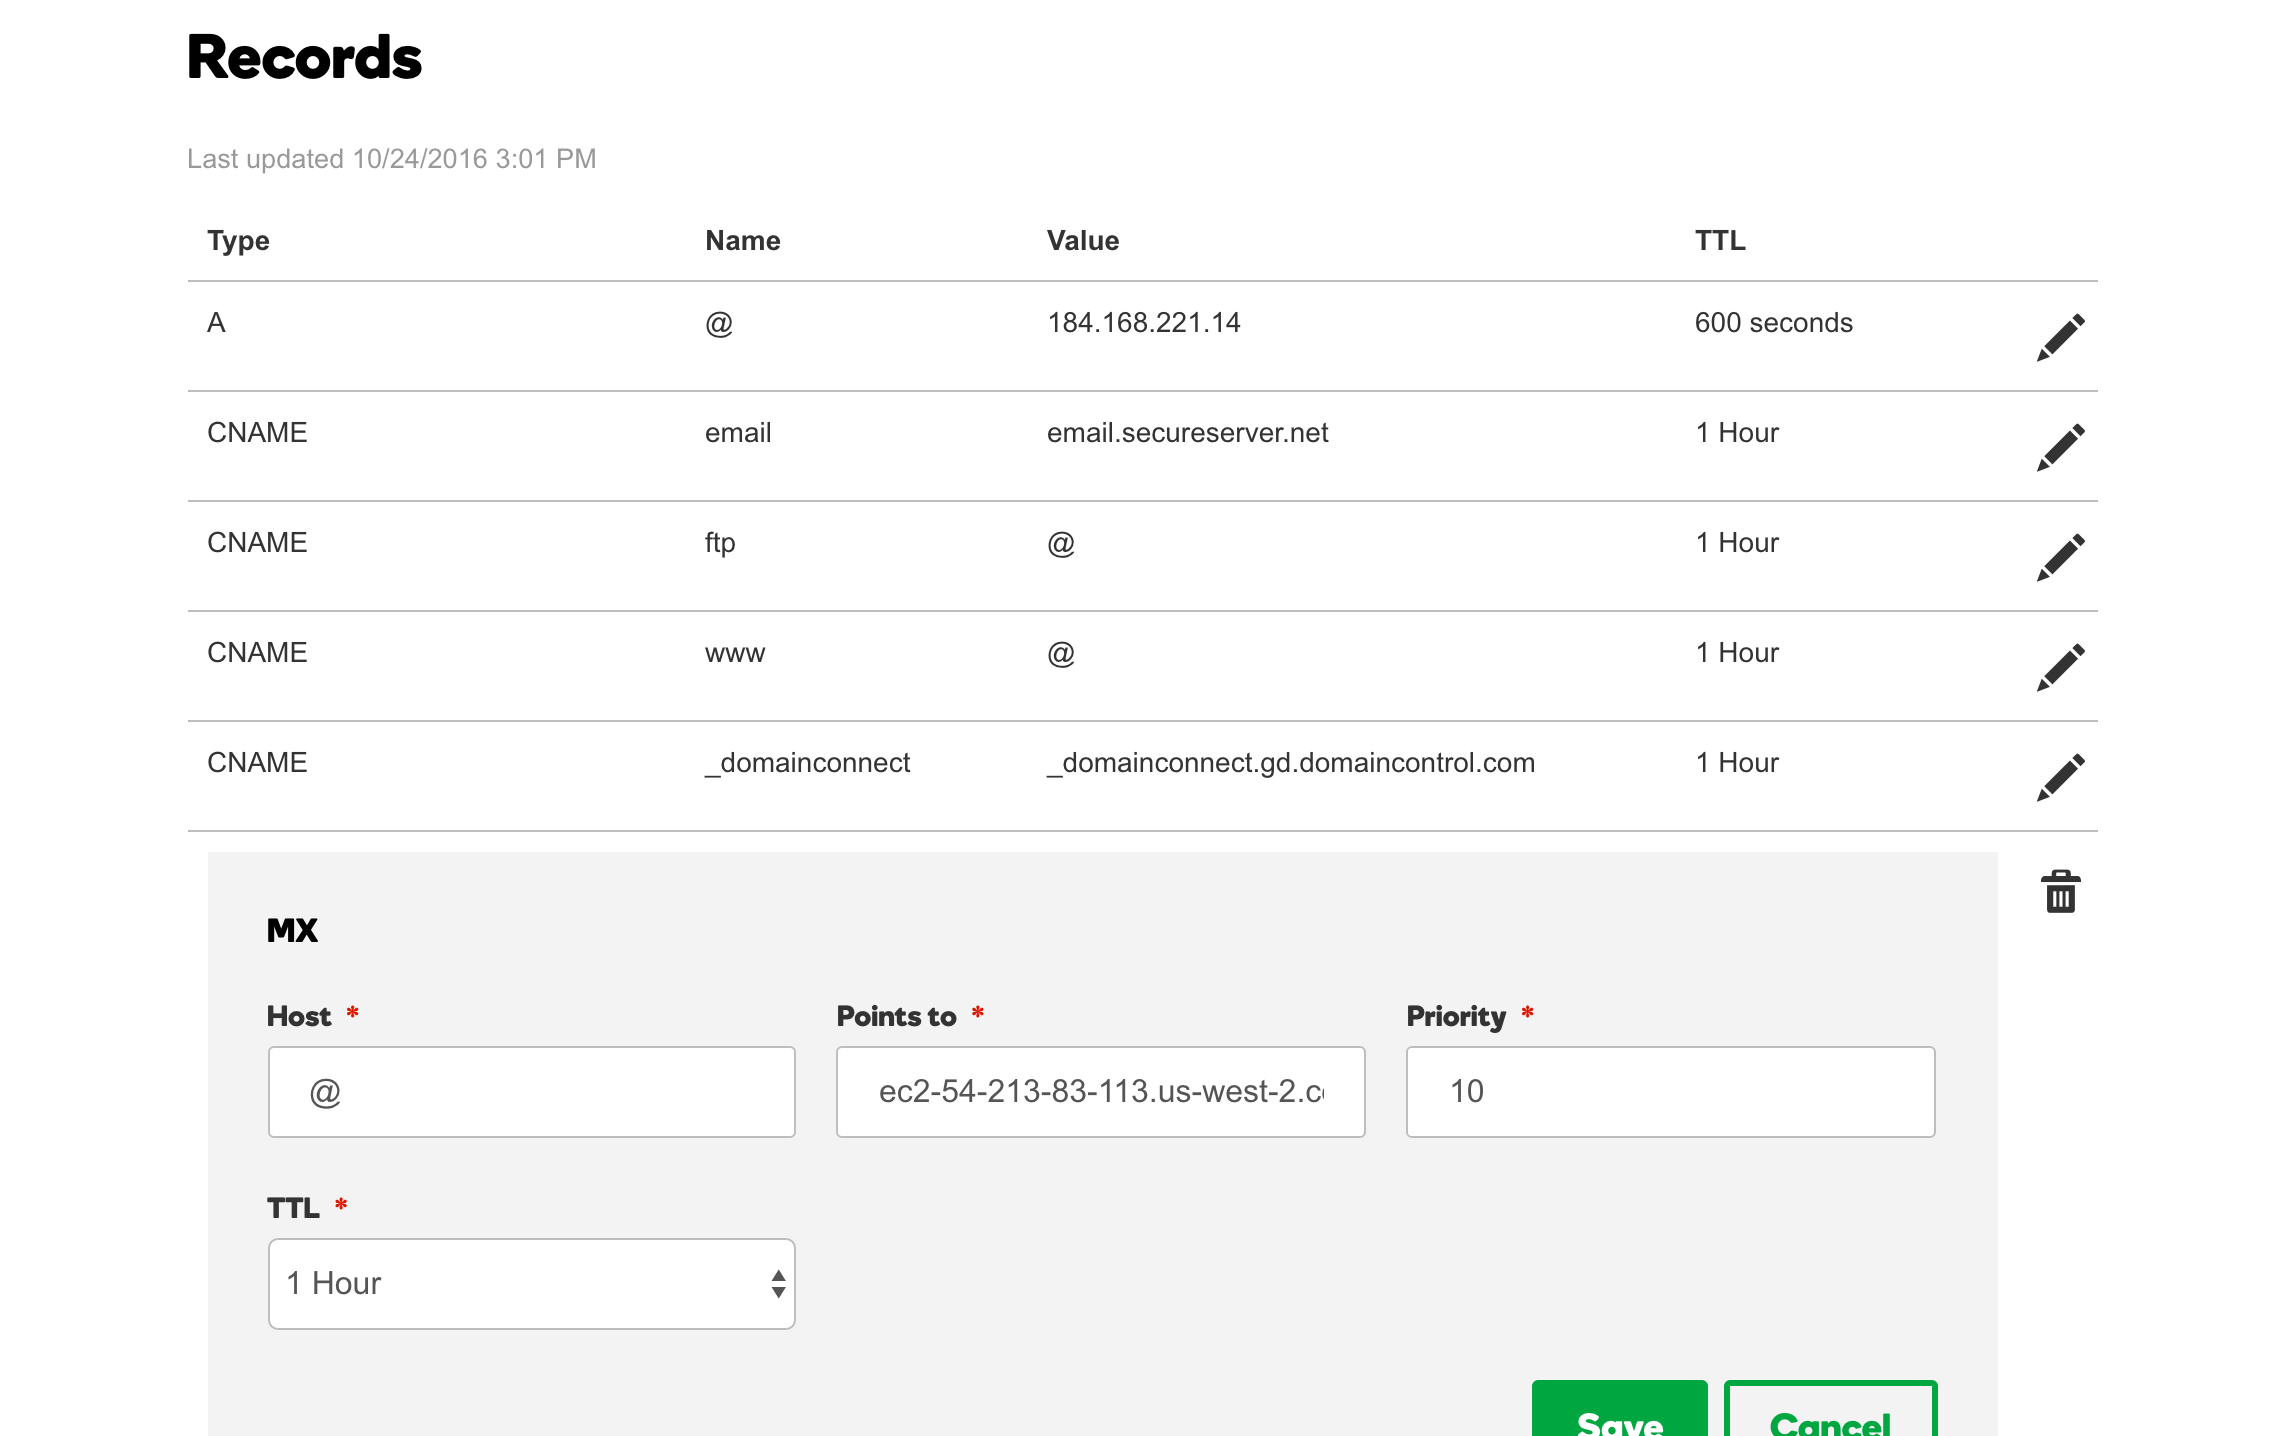
You want this to point to the address of the server you are running the Haraka server from. Note that I have the MX record pointed at the DNS of my AWS EC2 instance. You can’t point it to an IP address directly, at least not with GoDaddy.
host_list
When you want Haraka to accept emails for your domain, you need to add it to the /path/to/haraka_test/config/host_list
file. For example, to accept emails for thihara.com (i.e.: thihara@thihara.com, tj@thihara.com) you need to add
thihara.com to the host_list file as a single line.
SMTP
It’s worth noting that the responsibility of an SMTP server like Haraka is two fold.
- Receiving and accepting emails and then forwarding them to their destinations.
- Sending outgoing emails.
In no way will the SMTP server itself store the emails, nor does it have any concept of an inbox/mailbox (Where emails specific to a single user will be stored).
Storing emails and maintaining inboxes is generally done by separate servers like IMAP or POP3.
Setting up a Queue
A queue is a term Haraka uses to describe how the email is forwarded. The queue is going to decide what will happen to the emails that are received by the server. You can decide to use a queue that will discard the received emails for testng purposes, or use a plugin that will forward the emails to a POP3 or an IMAP server. Even put the emails in an S3 bucket or in some kind of a database.
Swaks
Swaks is a script that you can use to test the SMTP server by sending emails. It can be found in http://www.jetmore.org/john/code/swaks/
Once downloaded and installed the script can be used to test the email receiving functionality on a locally setup Haraka server like this
swaks -s localhost -t thihara@thihara.com -f thihara1@thihara.com
Or to test your DNS and server associations simply use
swaks -t thihara@thihara.com -f thihara1@thihara.com
You will see an output similar to
=== Trying localhost:25...
=== Connected to localhost.
<-  220 Thiharas-MacBook-Pro.local ESMTP Haraka 2.8.8 ready
 -> EHLO thiharas-macbook-pro.local
<-  250-Thiharas-MacBook-Pro.local Hello Unknown [127.0.0.1], Haraka is at your service.
<-  250-PIPELINING
<-  250-8BITMIME
<-  250-SIZE 0
<-  250-STARTTLS
<-  250 AUTH PLAIN LOGIN CRAM-MD5
 -> MAIL FROM:<thihara1@thihara.com>
<-  250 sender <thihara1@thihara.com> OK
 -> RCPT TO:<thihara@thihara.com>
<-  250 recipient <thihara@thihara.com> OK
 -> DATA
<-  354 go ahead, make my day
 -> Date: Mon, 28 Nov 2016 09:46:46 +0530
 -> To: thihara@thihara.com
 -> From: thihara1@thihara.com
 -> Subject: test Mon, 28 Nov 2016 09:46:46 +0530
 -> X-Mailer: swaks v20130209.0 jetmore.org/john/code/swaks/
 ->
 -> This is a test mailing
 ->
 -> .
<** 451  (919BCDD3-2819-44C5-9E48-CE0AAFD2ABF7.1)
 -> QUIT
<-  221 Thiharas-MacBook-Pro.local closing connection. Have a jolly good day.
=== Connection closed with remote host.
You will notice that the final response code is 451. This is because we haven’t really setup a queue yet. We will get
to that down the line!
Of course the localhost will be replaced with thihara.com or whatever is the recipient domain if you were testing
against an actual DNS baked email server.
You can see what other syntax is supported by the tool form their website. It basically support everything related to emails, including attachments, embedded html etc.
Writing the S3 queue plugin
Now our email server is setup to receive emails, let see how we can write a Haraka queue plugin to push the received emails to an AWS S3 bucket.
You need to add the AWS dependencies since our plugin is going to need to connect to an AWS S3 bucket. So go to the
/path/to/haraka_test directory and type in
npm install --save aws-sdk
Plugin and file names
Now that all of your dependencies are in place for this plugin let’s start writing it.
Let’s name out plugin aws_s3_queue. Consequently the code for the plugin behaviour will go into a file named
aws_s3_queue.js.
You can create the skeletal files for the plugin by using the following command.
haraka -c /path/to/haraka_test -p aws_s3_queue
This command will create two files
- /path/to/haraka_test/plugins/aws_s3_queue.js
- /path/to/haraka_test/docs/plugins/aws_s3_queue.md
The aws_s3_queue.js file contains the source code for the plugin, while the aws_s3_queue.md is the read me file.
There are three function hooks that you need to implement in the aws_s3_queue.js file.
- register - Place your initialization code in this function
- hook_queue - This is where you need to place the code that actually does the work
- shutdown - Place your de-initialization code in here
Required classes
You need to first import the following classes into the plugin.
var AWS = require("aws-sdk"),
    zlib = require("zlib"),
    util = require('util'),
    async = require("async"),
    Transform = require('stream').Transform;
Now you might realize that we didn’t define/install async as a dependency. Don’t worry, it’s already included in the
core Haraka server code, enabling you to use in the plugin.
Initialization
Let’s write our register function to load the configurations and initialize the AWS SDK.
exports.register = function () {
    this.logdebug("Initializing AWS S3 Queue");

    var config = this.config.get("aws_s3_queue.json");
    this.logdebug("Config loaded : "+util.inspect(config));

    AWS.config.update({
        accessKeyId: config.accessKeyId, secretAccessKey: config.secretAccessKey, region: config.region
    });

    this.s3Bucket = config.s3Bucket;

    this.zipBeforeUpload = config.zipBeforeUpload;
    this.fileExtension = config.fileExtension;
    this.copyAllAddresses = config.copyAllAddresses;
};
The most important thing to note here is how we are loading the configurations through a file. We are basically loading
a json file named aws_s3_queue.json from the /path/to/haraka_test/config directory. The config module of Haraka
already knows that it has to parse the JSON data since the file has a .json extension.
You can get more details about config parsing by reading the README.md file of the
config parsing code repo.
We are also updating the AWS configurations with the necessary authentication details, loaded from the config file. The config file will look like this.
{
  "accessKeyId": "access key ID",
  "secretAccessKey": "secret access key",
  "region": "us-west-2",
  "s3Bucket": "s3-bucket-name",
  "zipBeforeUpload": true,
  "fileExtension": ".eml.raw.gzip",
  "copyAllAddresses": true
}
Now another important configuration that needs to be done is setting the plugin timeout. In Haraka, the timeout for a plugin defaults to 30 seconds. This is a very reasonable timeout, but we are talking about a file upload over the internet, so that might not be enough.
We can set a custom plugin timeout for a plugin by creating a file named <plugin name>.timeout inside the
/path/to/haraka_test/config and placing the timeout in seconds inside that file.
So the timeout configuration for our S3 queue plugin will be named aws_s3_queue.timeout. It will contain only one line
of text, the number of seconds the plugin should be allowed to process a request before being timed out, in this case
120 for 120 seconds, or 2 minutes.
Actual work
Now let’s write the code that will handle each incoming email request.
exports.hook_queue = function (next, connection) {
    var plugin = this;

    var transaction = connection.transaction;
    var emailTo = transaction.rcpt_to;

    var gzip = zlib.createGzip();
    var transformer = plugin.zipBeforeUpload ? gzip : new TransformStream();
    var body = transaction.message_stream.pipe(transformer);

    var s3 = new AWS.S3();

    var addresses = plugin.copyAllAddresses ? transaction.rcpt_to : transaction.rcpt_to[0];

    async.each(addresses, function (address, eachCallback) {
        var key = address.user + "@" + address.host + "/" + transaction.uuid + plugin.fileExtension;

        var params = {
            Bucket: plugin.s3Bucket,
            Key: key,
            Body: body
        };

        s3.upload(params).on('httpUploadProgress', function (evt) {
            plugin.logdebug("Uploading file... Status : " + util.inspect(evt));
        }).send(function (err, data) {
            plugin.logdebug("S3 Send response data : " + util.inspect(data));
            eachCallback(err);
        });
    }, function (err) {
        if (err) {
            plugin.logerror(err);
            next();
        } else {
            next(OK, "Email Accepted.");
        }
    });
};
We are doing a few things in this function, first we are checking the configurations to see if the file should be compressed with the zip algorithm before being uploaded. Since MIME is a text based protocol, you will save some space, at the expense of processing power, by compressing the email file.
Then we are going to see if the email should be copied to all the inboxes of the recipients if there are multiple recipients. If that is the case, then we will do so, otherwise we will only copy the email into the first address in the list.
Few things you might want to consider here, is taking the cc and bcc fields into consideration and filtering out
the email addresses that don’t belong to your domain. There’s no point in keeping inboxes for users that does’t exist
in your domain/web app.
We will then create the file key by prefixing it with the email address and suffixing it with the file extension defined
in the configuration. For example for zipped files we can use the .zip format. By prefixing the file name with the
email address we can easily retrieve all of the emails for a particular address/user from the AWS S3 bucket.
Then we just iterate over the addresses and upload them into the AWS S3 bucket. Now here we have a chance to make a huge improvement when there are multiple inboxes the file need to be uploaded to. Instead of uploading the file everytime we can use AWS S3 SDK’s copy method to copy the already uploaded file over to the other inboxes. This shold save the upload bandwidth and time for all the other addresses present in the email.
Now the other curious thing you see in this code is the use of a custom class named TransformStream when we are not
zipping the file.
var transformer = plugin.zipBeforeUpload ? gzip : new TransformStream();
var body = transaction.message_stream.pipe(transformer);
For some reason the message_stream of the transaction object woudn’t work as a normal Node.js stream without a
transforming stream in-between. Now this is fine when we are zipping up the file, but the code will just hang and
timeout when we don’t have the zip treanforming stream. So we need to create a dummy transform stream that will just
pass along the data without any modification.
The TransformStream class looks like this.
var TransformStream = function() {
    Transform.call(this);
};
util.inherits(TransformStream, Transform);

TransformStream.prototype._transform = function(chunk, encoding, callback) {
    this.push(chunk);
    callback();
};
And there you go, we have written most of the code for our AWS S3 plugin.
De-initialization or destruction
The last job of the plugin is to clean up after itself. We can use the destroy method to implement any of the cleaning
operations.
exports.shutdown = function () {
    this.loginfo("Shutting down queue plugin.");
};
As you can see don’t need to clean anything up in this plugin, so it just contain a log message!
Activating the plugin
All you have to do is to activate the plugin by entering the following line in the
/path/to/haraka_test/config/plugins file.
aws_s3_queue
If you wish to organize the plugins, you can create a folder named queue and put the aws_s3_queue.js file in there.
Then you need to change the plugins file to reflect the change by adding the floowing line.
queue/aws_s3_queue
Test it out
You can send an email using swaks and test out the new plugin.
If the plugin is working correctly you will see that instead of the previous 451 response code, you received a 250
status code.
<-  250 Email Accepted. (BCD02C7A-2CBF-4D2E-BE65-17EEC769BF2C.1)
 -> QUIT
Writing the validity plugin
Now that we are receiving emails, we need a way to figure out how to validate the email addresses to make sure that they do in fact exist in our application. Otherwise we will endup accepting pretty much anything that’s sent our way by anyone.
We can do this by writing another plugin to check the validity of the recipient addresses. Let’s make the plugin
connect to a postgresql database instance and check the user’s validity from the data present.
You need to add the posgresql dependencies since our plugin is going to need to connect to an postgresql database.
So go to the /path/to/haraka_test directory and type in
npm install --save pg
Let’s try not go into all the details in here like we did with the AWS S3 plugin, since we have covered most of the things necessary for plugin writing already.
Plugin and file names
Now that all of your dependencies are in place for this plugin let’s start writing it.
Let’s name out plugin rcpt_to.validity. Consequently the code for the plugin behaviour will go into a file named
rcpt_to.validity.js.
You can create the skeletal files for the plugin by using the following command.
haraka -c /path/to/haraka_test -p rcpt_to.validity
Just like before this command will create two files
- /path/to/haraka_test/plugins/rcpt_to.validity.js
- /path/to/haraka_test/docs/plugins/rcpt_to.validity.md
Required classes
We need to import the following classes for our plugin.
var util = require('util'),
    pg = require('pg');
Initialization
Let’s see that the plugin’s initialization code looks like.
exports.register = function () {
    this.logdebug("Initializing rcpt_to validity plugin.");
    var config = this.config.get('rcpt_to.validity.json');

    var dbConfig = {
        user: config.user,
        database: config.database,
        password: config.password,
        host: config.host,
        port: config.port,
        max: config.max,
        idleTimeoutMillis: config.idleTimeoutMillis
    };

    //Initialize the connection pool.
    this.pool = new pg.Pool(dbConfig);

    /**
     * If an error is encountered by a client while it sits idle in the pool the pool itself will emit an
     * error event with both the error and the client which emitted the original error.
     */
    this.pool.on('error', function (err, client) {
        this.logerror('Idle client error. Probably a network issue or a database restart.'
            + err.message + err.stack);
    });

    this.sqlQuery = config.sqlQuery;
};
As you can see, just like before we are loading the configurations from a file named similar to the plugin,
rcpt_to.validity.json.
Then we initialize the connection pool for postgressql. I’m not going to talk about all the database related code since it’s beyond the scope of this post.
The configuration file will look like this
{
  "user": "thihara",
  "database": "haraka",
  "password": "",
  "host": "127.0.0.1",
  "port": 5432,
  "max": 20,
  "idleTimeoutMillis": 30000,
  "sqlQuery": "SELECT EXISTS(SELECT 1 FROM valid_emails WHERE email_id=$1) AS \"exists\""
}
Actual work
Let’s see what our user validity plugin actually does!
exports.hook_rcpt = function (next, connection, params) {
    var rcpt = params[0];

    this.logdebug("Checking validity of " + util.inspect(params[0]));

    this.is_user_valid(rcpt.user, function (isValid) {
        if (isValid) {
            connection.logdebug("Valid email recipient. Continuing...", this);
            next();
        } else {
            connection.logdebug("Invalid email recipient. DENY email receipt.", this);
            next(DENY, "Invalid email address.");
        }
    });
};

exports.is_user_valid = function (userID, callback) {
    var plugin = this;

    plugin.pool.connect(function (err, client, done) {
        if (err) {
            plugin.logerror('Error fetching client from pool. ' + err);
            return callback(false);
        }

        client.query(plugin.sqlQuery,
            [userID], function (err, result) {

                //Release the client back to the pool by calling the done() callback.
                done();

                if (err) {
                    plugin.logerror('Error running query. ' + err);
                    return callback(false);
                }

                return callback(result.rows[0].exists);
            });
    });
};
Here we are using the sqlQuery given in the configuration file, to determine if the recipient is a valid user. All the
code is pretty standard.
One thing worth noting are the next() and the next(DENY, "Invalid email address."). This where we are accepting and
rejecting the email. next() method will continue the operation, and next(DENY, "Invalid email address") method will
reject the email with an error message Invalid email address.
Now you might be wondering what is DENY and where does it come from. Well it’s defined in a separate package
called haraka-constants and you can import and use it for clarity’s
sake. But it will be available my the time the plugin runs anyway, so you can use it the way I have as well.
De-initialization or destruction
And now to the cleanup part.
exports.shutdown = function () {
    this.loginfo("Shutting down validity plugin.");
    this.pool.end();
};
We are actually doing some work here by closing down the postgresql conenction pool when the plugin is stopping.
Activating the plugin
All you have to do is to activate the plugin by entering the following line in the
/path/to/haraka_test/config/plugins file.
rcpt_to.validity
Test it out
Make sure your database is up and that it has a valid email address for the plugin to authorize.
Now send an email witha valid recipient, an invalid recipient will occur in the email rejection with a message like this
<** 550 Invalid email address.
 -> QUIT
What can the plugins be used for?
Now these plugins should get you started on the way to writing your own email service. The AWS plugin is meant to show you guys how you can use any medium you want to store the email files. If you were going to adapt it to production you might want to consider parsing the email and pushing a json document with the parsed content, may be extract the attachments separately and just include the file links in the json document.
You can use the validity plugin to make sure only registered user email addresses are accepted by the SMTP server. You can pretty much use any other data source you wish for this purpose as well.
The Haraka’s plugin system let’s you bend the server to your will with ease, it can be used to setup custom email pipelines when existing services are either, too expensive or too rigid to do what you want.
Outgoing
Now that we have successfully setup our incoming email pipeline, let’s see how we can configure Haraka to send emails.
This involves setting up and enabling two plugins, since their documentation is sufficient to setup and enable them I will not be going to those details in this post.
auth/flat_file plugin
To enable outgoing emails we need to set the connection.relaying to true from a plugin. While it’s rather easy to
write your own plugin to do this, the easiest way to do so is by enabling the auth/flat_file. Detailed instructions
for this plugin can be found in the documentation plugin.
tls plugin
Before you can enable the auth/flat_file you need to enable the tls plugin, The instructions for enabling the plugin
can be found in the documentation.
I just used a self signed certificate to enable tls, but depending on whether you are setting something up for production or testing purposes you might want to consider buying an actual certificate.
Testing
Once that’s done, you can use swaks to test your email server’s outgoing capabilities using the following command.
swaks -f tj@thihara.com -t tneranjya@gmail.com -s localhost -p 587 -au username -ap password
This will send a test email to tneranjya@gmail.com from tj@thihara.com.
Note that I’ve provided the outgoing port as 587, that’s the port my Haraka server is listening for outgoing emails.
You can find more details about that from here.
You can tell your Haraka server to listen to both port 25 for incoming emails, and 587 for outgoing emails, by
adding the following lin of configuration to /path/to/haraka_test/config/smtp.ini file.
listen=[::0]:587,[::0]:25
And now you are done. You can of course write an authentication plugin yourself that will use a better mechanism than a flat file to store user credentials. Or you can keep this as is, and rely on other security measures like, firewalls or access control lists to keep your server’s outbound capabilities secure.
Conclusion
This guide should take you quite far in setting up your email service, or email pipeline to do whatever you want. The source code for the haraka configuration can be found from the following github repository.
https://github.com/thihara/haraka_test
I’ve also written a small Java application that lists emails stored in an AWS S3 bucket as well as send simple text based emails.
You can find the source code from the following github repository.
https://github.com/thihara/email_client/
The application is just a trivial application to demonstrate that the content of this post is sufficient to start a basic email service. Of course there’s a lot more that’s needed to do before you have a fully functional service, like encryption, site building, a rich UI client etc. Hopefully this will point you in the right direction with a jump start.